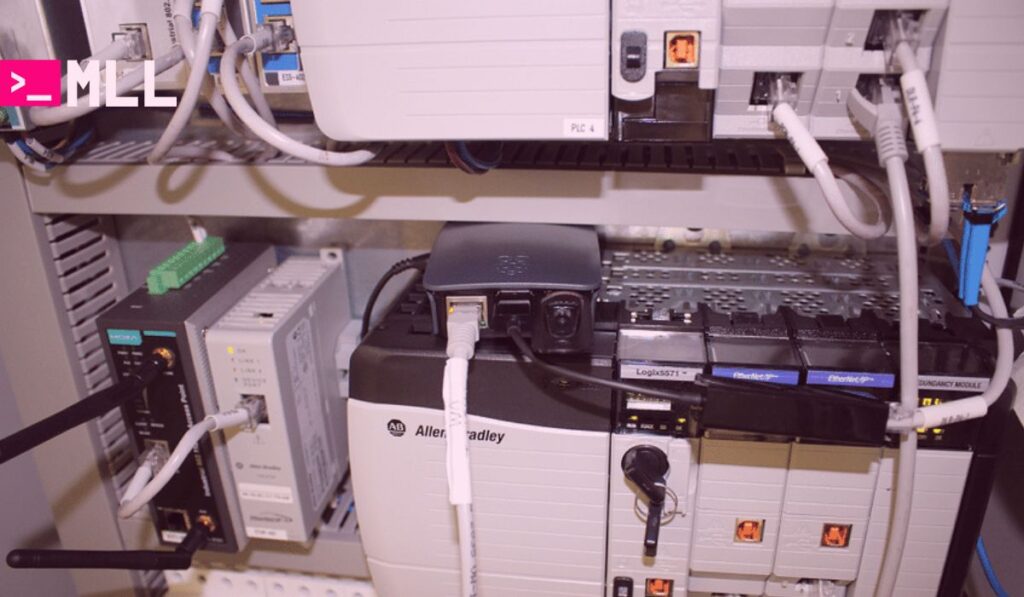
Want help for installing OpenPLC on Raspberry Pi? I have got your covered. The Raspberry Pi is an incredibly versatile platform for projects requiring automation and control, and OpenPLC is a powerful tool to enhance its capabilities. OpenPLC is an open-source platform designed to emulate the functionality of traditional Programmable Logic Controllers (PLCs). By installing OpenPLC on your Raspberry Pi, you unlock its potential for automation, from industrial control systems to home automation projects.
This guide will walk you through installing OpenPLC on a Raspberry Pi, covering everything from prerequisites to platform-specific considerations. Let’s dive in.
What Is OpenPLC?
OpenPLC is a software framework that allows you to program and run automation processes. It supports industry-standard IEC 61131-3 programming languages, making it compatible with professional automation systems. Running OpenPLC on a Raspberry Pi combines the cost-effectiveness of the Pi with the flexibility and power of OpenPLC, making it an excellent choice for hobbyists, students, and professionals alike.
Guide for Installing OpenPLC on Raspberry Pi
Prerequisites
Before starting the installation process, ensure your Raspberry Pi is ready for the task. Here’s what you’ll need:
1. Raspberry Pi Hardware
- Raspberry Pi 3, 4, or higher (a 32-bit OS for older models and a 64-bit OS for newer ones is recommended).
- A microSD card with at least 8 GB of storage and the Raspberry Pi OS installed.
- A reliable power supply for your Raspberry Pi.
2. Basic Linux Knowledge
While the process is straightforward, familiarity with the terminal and basic Linux commands will make the process smoother.
3. Internet Connection
An active internet connection is necessary for downloading the required files and libraries.
4. Git
Git is a version control system required to clone the OpenPLC repository. Most Raspberry Pi OS installations include Git, but if it’s missing, you can install it with:
bashCopy codesudo apt-get install git
The Complete Walkthrough
1. Update Your Raspberry Pi
Start by ensuring your Raspberry Pi’s software is up-to-date. Open the terminal and run the following commands:
bashCopy codesudo apt-get update
sudo apt-get upgrade
This ensures that all packages and dependencies are up-to-date, reducing the likelihood of compatibility issues.
2. Clone the OpenPLC Repository
The OpenPLC project is hosted on GitHub. To download it, use Git to clone the repository to your Raspberry Pi:
bashCopy codegit clone https://github.com/thiagoralves/OpenPLC_v3.git
This command creates a new folder called OpenPLC_v3 in your current directory, containing all the necessary files for the installation.
3. Start the Installation
Navigate into the newly created OpenPLC directory:
bashCopy codecd OpenPLC_v3
Then, execute the installation script specifically for Raspberry Pi by running:
bashCopy code./install.sh rpi
The rpi argument tells the script to install OpenPLC with configurations tailored for Raspberry Pi. The installation script will handle downloading and configuring all dependencies required for OpenPLC to run properly.
4. Install the WiringPi Library
One key library that OpenPLC depends on when running on Raspberry Pi is WiringPi, which manages GPIO (General Purpose Input/Output) pin control. Without it, OpenPLC cannot interact with the Raspberry Pi’s hardware pins.
Download WiringPi
Visit the WiringPi GitHub releases page to download the appropriate .deb file for your Raspberry Pi:
- Use the
-armhf.debfile for a 32-bit operating system (common on Raspberry Pi 3 and older models). - Use the
-arm64.debfile for a 64-bit operating system (recommended for Raspberry Pi 4 and newer models).
Install WiringPi
Once you have the correct file downloaded, install it using the dpkg command. For example:
bashCopy codesudo dpkg -i wiringpi-[version]-armhf.deb
or for a 64-bit OS:
bashCopy codesudo dpkg -i wiringpi-[version]-arm64.deb
Verify Installation
To ensure WiringPi was installed successfully, run:
bashCopy codegpio -v
This command should display the version of WiringPi installed and confirm that it’s working.
5. Complete the Installation
Once the installation process is complete, reboot your Raspberry Pi to apply all changes and start OpenPLC automatically:
bashCopy codesudo reboot
6. Test OpenPLC
After rebooting, OpenPLC should start automatically. You can access the OpenPLC web interface by opening a web browser on your Raspberry Pi and navigating to:
arduinoCopy codehttp://localhost:8080
If you are accessing it from another device on the same network, replace localhost with your Raspberry Pi’s IP address. For example:
arduinoCopy codehttp://192.168.1.100:8080
From the web interface, you can upload PLC programs, monitor runtime, and configure hardware.
Tips for Troubleshooting
If you encounter issues during installation or runtime, here are some tips:
1. Check Dependencies
Ensure all required libraries and dependencies are installed. The installation script should handle this, but if something fails, you may need to install missing packages manually.
2. WiringPi Issues
If the gpio -v command fails, double-check that you downloaded the correct .deb file for your system architecture. Reinstalling WiringPi may resolve the issue.
3. OpenPLC Fails to Start
If OpenPLC does not start after reboot, try starting it manually by running:
bashCopy codecd OpenPLC_v3
sudo ./start_openplc.sh
Benefits of Using OpenPLC on Raspberry Pi
1. Cost-Effective Automation
The combination of OpenPLC and Raspberry Pi provides a budget-friendly solution for automation projects, ideal for students, hobbyists, and small businesses.
2. Flexibility
OpenPLC supports multiple programming languages (Ladder Logic, Structured Text, etc.) and can integrate with a variety of hardware.
3. Community Support
OpenPLC and Raspberry Pi both have active communities. If you face challenges, chances are someone else has solved the same issue.
Final Thoughts
Installing OpenPLC on a Raspberry Pi transforms it into a fully functional programmable logic controller, enabling you to automate processes and interact with hardware at a fraction of the cost of traditional PLCs. By following this guide, you can successfully install and configure OpenPLC to meet your project needs.
Whether you’re building a home automation system, experimenting with industrial control, or learning about PLC programming, this setup offers a powerful and versatile platform to explore. So go ahead, reboot your Raspberry Pi, and start your journey into the world of automation with OpenPLC!


